CentOS7 部署 Glpi 资产信息管理平台
一. 安装说明
GLPI 是一个企业私有资产信息同步管理平台,提供功能全面的 IT 资源管理接口,可以用它来建立数据库全面管理 IT 的电脑,显示器,服务器,打印机,网络设备,电话,甚至硒鼓和墨盒等,具体功能可参考 官方文档
- System:CentOS7.9.2009 Minimal
- Nginx:nginx-1.15.3
- MySQL:mysql-5.7.25-linux-glibc2.12-x86_64
- Php:php-7.4.27
二. 安装 Nginx
| $ yum -y install gcc pcre pcre-devel zlib zlib-devel openssl openssl-devel
$ wget http://nginx.org/download/nginx-1.15.3.tar.gz
$ tar -xf nginx-1.15.3.tar.gz && cd ./nginx-1.21.4
$ ./configure --prefix=/usr/local/nginx
$ make && make install
$ groupadd nginx
$ useradd -M -g nginx -s /sbin/nologin nginx
$ vim /usr/local/nginx/conf/nginx.conf
user nginx nginx;
$ vim /lib/systemd/system/nginx.service
[Unit]
Description=nginx
After=network.target
[Service]
Type=forking
ExecStart=/usr/local/nginx/sbin/nginx
ExecReload=/usr/local/nginx/sbin/nginx -s reload
ExecStop=/usr/local/nginx/sbin/nginx -s stop
PrivateTmp=true
[Install]
WantedBy=multi-user.target
$ systemctl enable --now nginx && systemctl status nginx
|
三. 安装 MySQL
| $ rpm -e --nodeps mariadb-libs
$ yum -y install wget cmake gcc gcc-c++ ncurses numactl ncurses-devel libaio-devel openssl openssl-devel libaio
$ wget https://cdn.mysql.com/archives/mysql-5.7.25-linux-glibc2.12-x86_64.tar.gz
$ tar -zxvf mysql-5.7.25-linux-glibc2.12-x86_64.tar.gz -C /usr/local/ && cd /usr/local
$ mv mysql-5.7.25-linux-glibc2.12-x86_64 mysql && cd ./mysql/
$ groupadd mysql
$ useradd -r -g mysql mysql
$ vim /etc/my.cnf
[mysql]
default-character-set=utf8
socket=/usr/local/mysql/mysql.sock
[mysqld]
port = 3306
socket=/usr/local/mysql/mysql.sock
basedir=/usr/local/mysql
datadir=/usr/local/mysql/data
max_connections=200
character-set-server=utf8
default-storage-engine=INNODB
max_allowed_packet=16M
$ chown -R mysql:mysql ./
$ ./bin/mysqld --initialize --user=mysql --basedir=/usr/local/mysql --datadir=/usr/local/mysql/data
e0qFnvkLj/ow
$ cp ./support-files/mysql.server /etc/rc.d/init.d/mysqld
$ chmod +x /etc/rc.d/init.d/mysqld
$ chkconfig --add mysqld
$ service mysqld start
$ vim /etc/profile
# MySQL
export MYSQL_HOME=/usr/local/mysql
export PATH=$PATH:$MYSQL_HOME/bin
$ source /etc/profile
$ mysql -u root -p
Enter password:输入默认的临时密码
> set password=password('password');
> set password for 'root'@'localhost'=password('password');
> GRANT ALL PRIVILEGES ON *.* TO 'root'@'%' IDENTIFIED BY 'password';
> GRANT ALL ON *.* TO user@'%' IDENTIFIED BY 'password' WITH GRANT OPTION;
> flush privileges;
|
四. 安装 PHP
| $ yum -y install https://rpms.remirepo.net/enterprise/remi-release-7.rpm
$ yum clean all && yum makecache
$ yum -y install yum-utils
$ yum repolist all |grep php
$ yum-config-manager --enable remi-php74
$ yum -y install php php-cli php-fpm php-mysqlnd php-zip php-devel php-gd php-mcrypt php-mbstring php-curl php-xml php-pear php-bcmath php-json php-redis php-fileinfo php-mysqli php-session php-zlib php-simplexml php-intl php-domxml php-ldap php-openssl php-xmlrpc php-pecl-apcu php-pear-CAS php-opcache
$ systemctl start php-fpm && systemctl enable php-fpm
$ php -v
$ php --modules
|
五. 安装 Glpi
| $ wget https://github.com/glpi-project/glpi/releases/download/9.5.7/glpi-9.5.7.tgz
$ tar -xf glpi-9.5.7.tgz -C /usr/local/nginx/html
$ chown nginx:nginx -R /usr/local/nginx/html
$ cd /usr/local/nginx/html/glpi/ && chmod -R 777 config files
$ vim /usr/local/nginx/conf/nginx.conf
server{
listen 80 ;
server_name 188.188.4.44;
root /usr/local/nginx/html/glpi;
#301重定向
#rewrite ^(.*)$ $1 permanent;
#强制SSL
#rewrite ^(.*)$ https://$host$1 permanent;
#防盗链
location / {
#伪静态
#include /usr/local/nginx/html/glpi/.rewrite.conf;
#首页
root /usr/local/nginx/html/glpi;
index index.php index.html error/index.html;
}
#流量限制
#日志
#access_log /usr/local/nginx/logs/nginx_access_$logdate.log main;
error_page 403 /error/403.html;
error_page 400 /error/400.html;
error_page 404 /error/404.html;
error_page 502 /error/502.html;
error_page 503 /error/503.html;
#处理PHP
location ~ [^/]\.php(/|$) {
root /usr/local/nginx/html/glpi;
fastcgi_pass 127.0.0.1:9000;
fastcgi_split_path_info ^(.+\.php)(.*)$;
fastcgi_param SCRIPT_FILENAME $document_root$fastcgi_script_name;
fastcgi_param PATH_INFO $fastcgi_path_info;
include fastcgi.conf;
}
#DenyFiles
location ~ ^/(\.user.ini|\.htaccess|\.git|\.svn|\.project|LICENSE|README.md)
{
return 404;
}
}
$ systemctl restart nginx php-fpm
|

1)开始安装(如果后续推出新版本,可选择升级即可)
2)检查运行环境要求,若显示相关报错,如果缺少安装包就装包,如果提示权限不足就查权限是否设置正确;
插件安装参考:
| $ cd /usr/local/src/php-7.4.27/ext/intl
$ /usr/local/php/bin/phpize
$ ./configure --with-php-config=/usr/local/php/bin/php-config
$ make && make install
Installing shared extensions: /usr/local/php/lib/php/extensions/no-debug-non-zts-20190902/
$ vim /usr/local/php/etc/php.ini
extension=intl
|
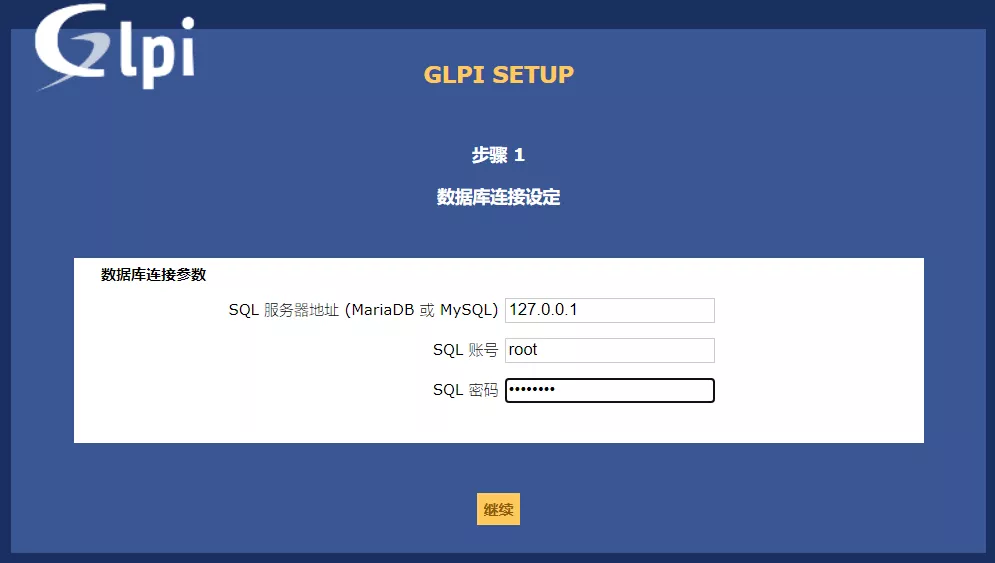
3)连接数据库–输入服务器地址、用户名、密码(请自行创建账号密码)
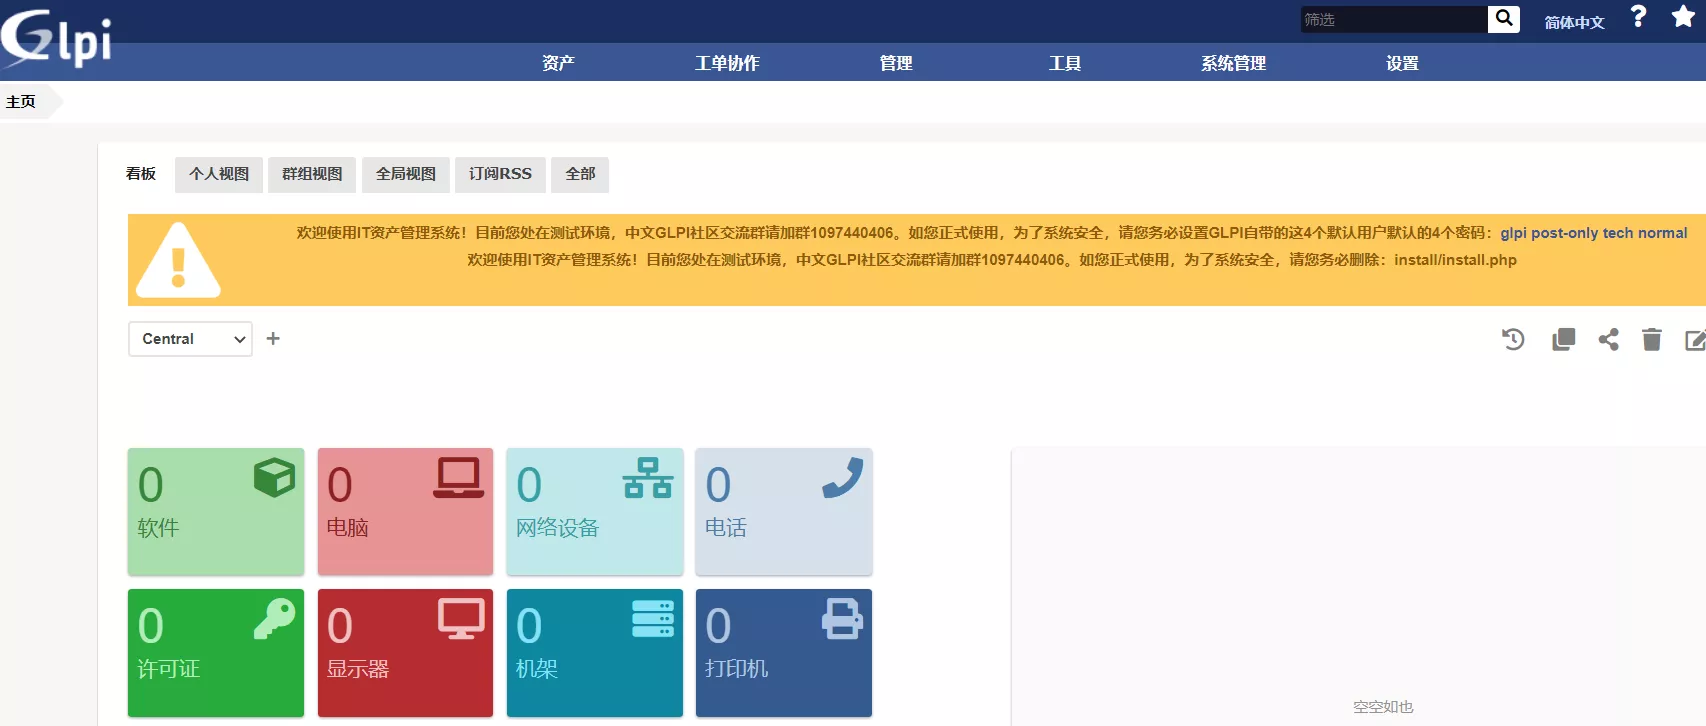
4)登录GLPI管理控制台,成功后的界面
5)安全设置
| $ cd /usr/local/nginx/html/glpi/install/
$ mv install.php install.php.$(date +%F_%T)
|
六. 插件安装
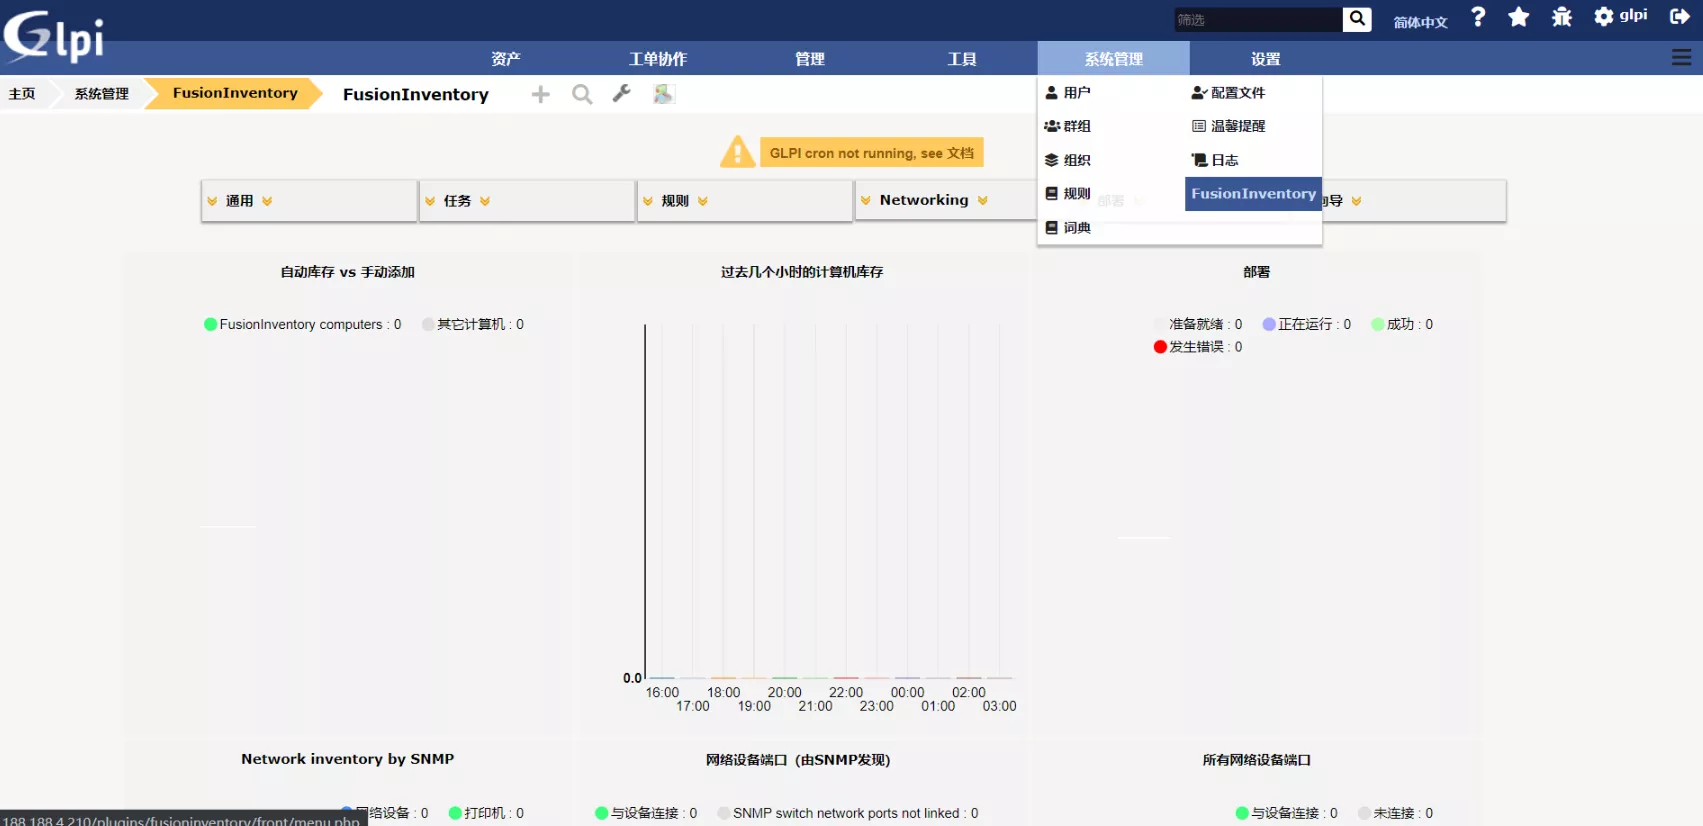
FusionInventory 就像网关一样,收集代理发送的信息。它会在管理员不费吹灰之力的情况下创建或更新 GLPI 中的信息
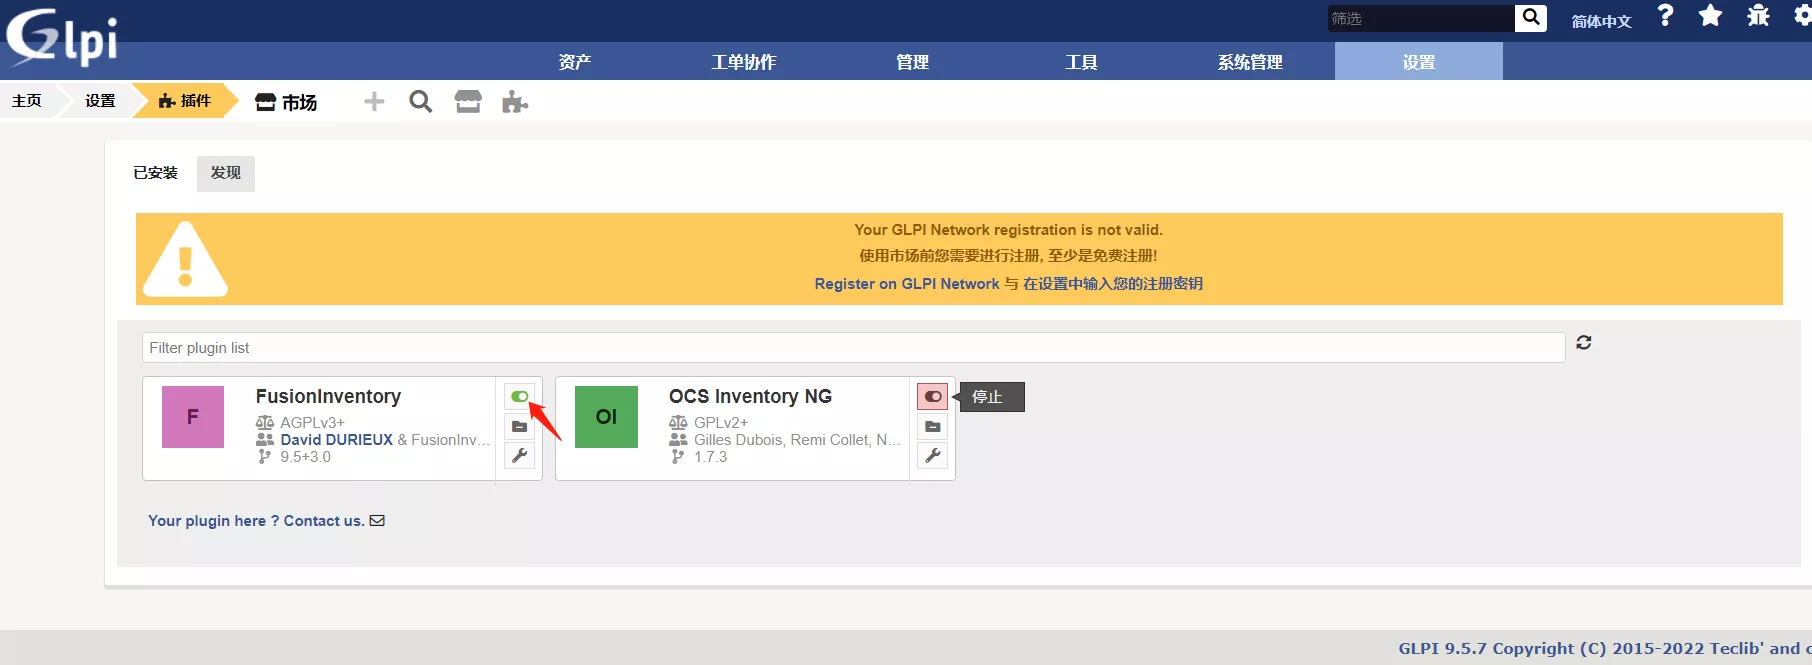
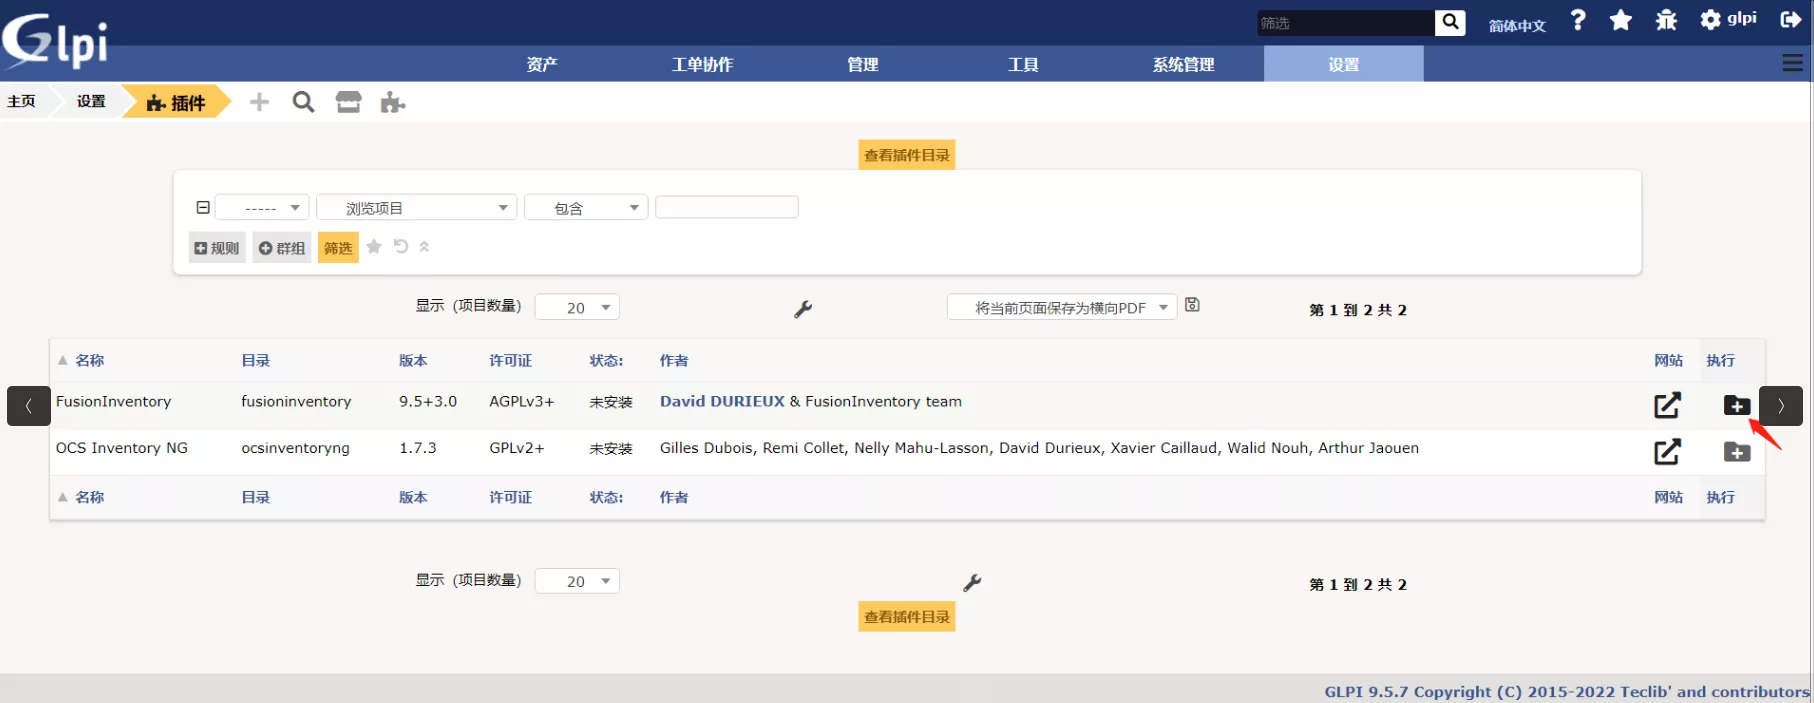
1)安装插件:设置–插件–查找插件目录

2)进入插件页面,根据个人选择不同插件进行安装

3)下载安装包注:GLPI 和 FusionInventory 的版本必须适配
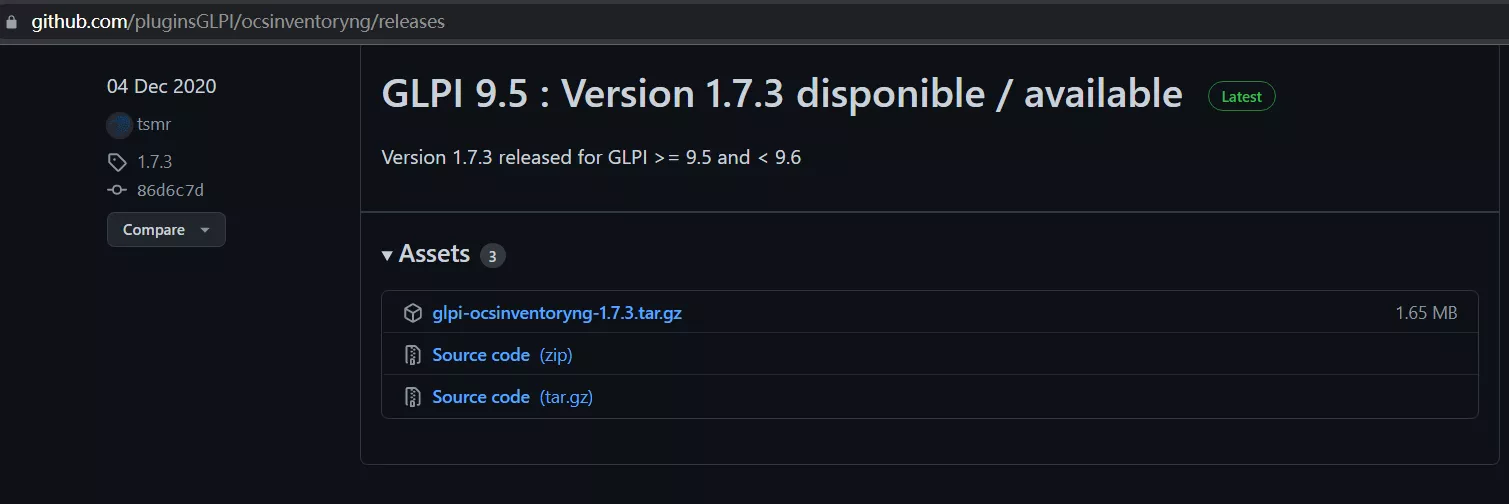
4)下载或上传插件安装包至 glpi 插件目录,刷新网页即可安装、启用插件
| $ cd /usr/local/nginx/html/glpi/plugins
$ wget https://github.com/pluginsGLPI/ocsinventoryng/releases/download/1.7.3/glpi-ocsinventoryng-1.7.3.tar.gz
$ wget https://github.com/fusioninventory/fusioninventory-for-glpi/releases/download/glpi9.5%2B3.0/fusioninventory-9.5+3.0.tar.bz2
$ tar -xf glpi-ocsinventoryng-1.7.3.tar.gz
$ tar -jxf fusioninventory-9.5+3.0.tar.bz2
$ ll
total 5140
drwxr-xr-x. 16 root root 4096 Mar 22 2021 fusioninventory
-rw-r--r--. 1 root root 3520305 Dec 8 13:26 fusioninventory-9.5+3.0.tar.bz2
-rw-r--r--. 1 root root 1727867 Dec 8 09:10 glpi-ocsinventoryng-1.7.3.tar.gz
drwxr-xr-x. 12 root root 4096 Dec 4 2020 ocsinventoryng
-rwxrwxrwx. 1 nginx nginx 80 Jan 27 22:34 remove.txt
|
