Deploy Ubuntu-Server On RPI
一. 前期准备
硬件:
软件:
PS:官方提供了三种不同的版本,可根据自己 PC 的系统下载安装(操作便捷,系统选择便利),故教程使用官方的
1.1 格式化存储卡
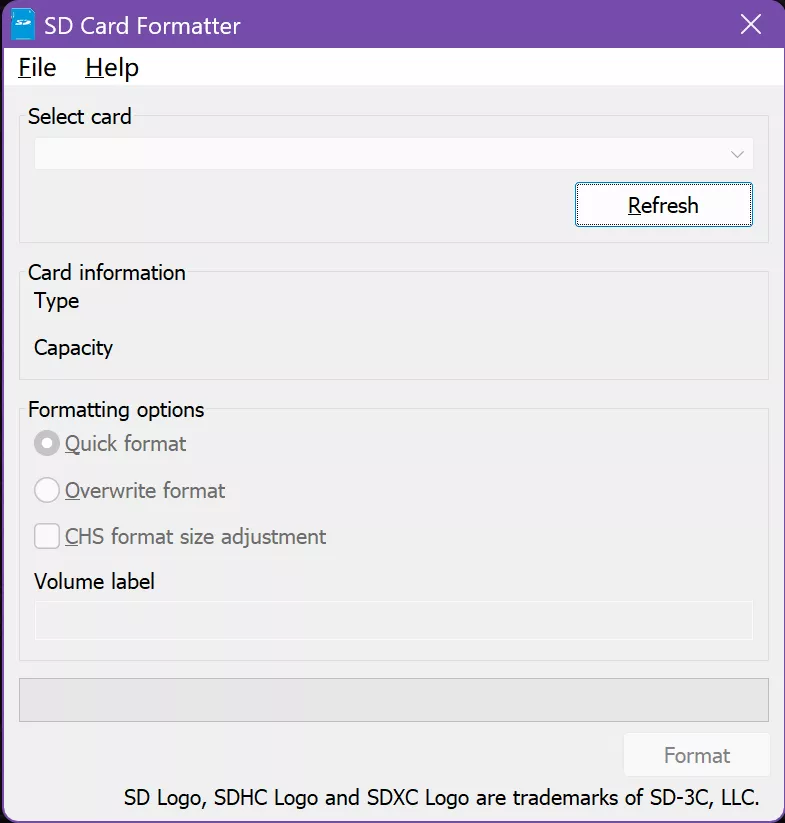
首先将存储卡放入读卡器,插入笔电,使用 SD Card Formatter 进行格式化
1.2 下载 OS
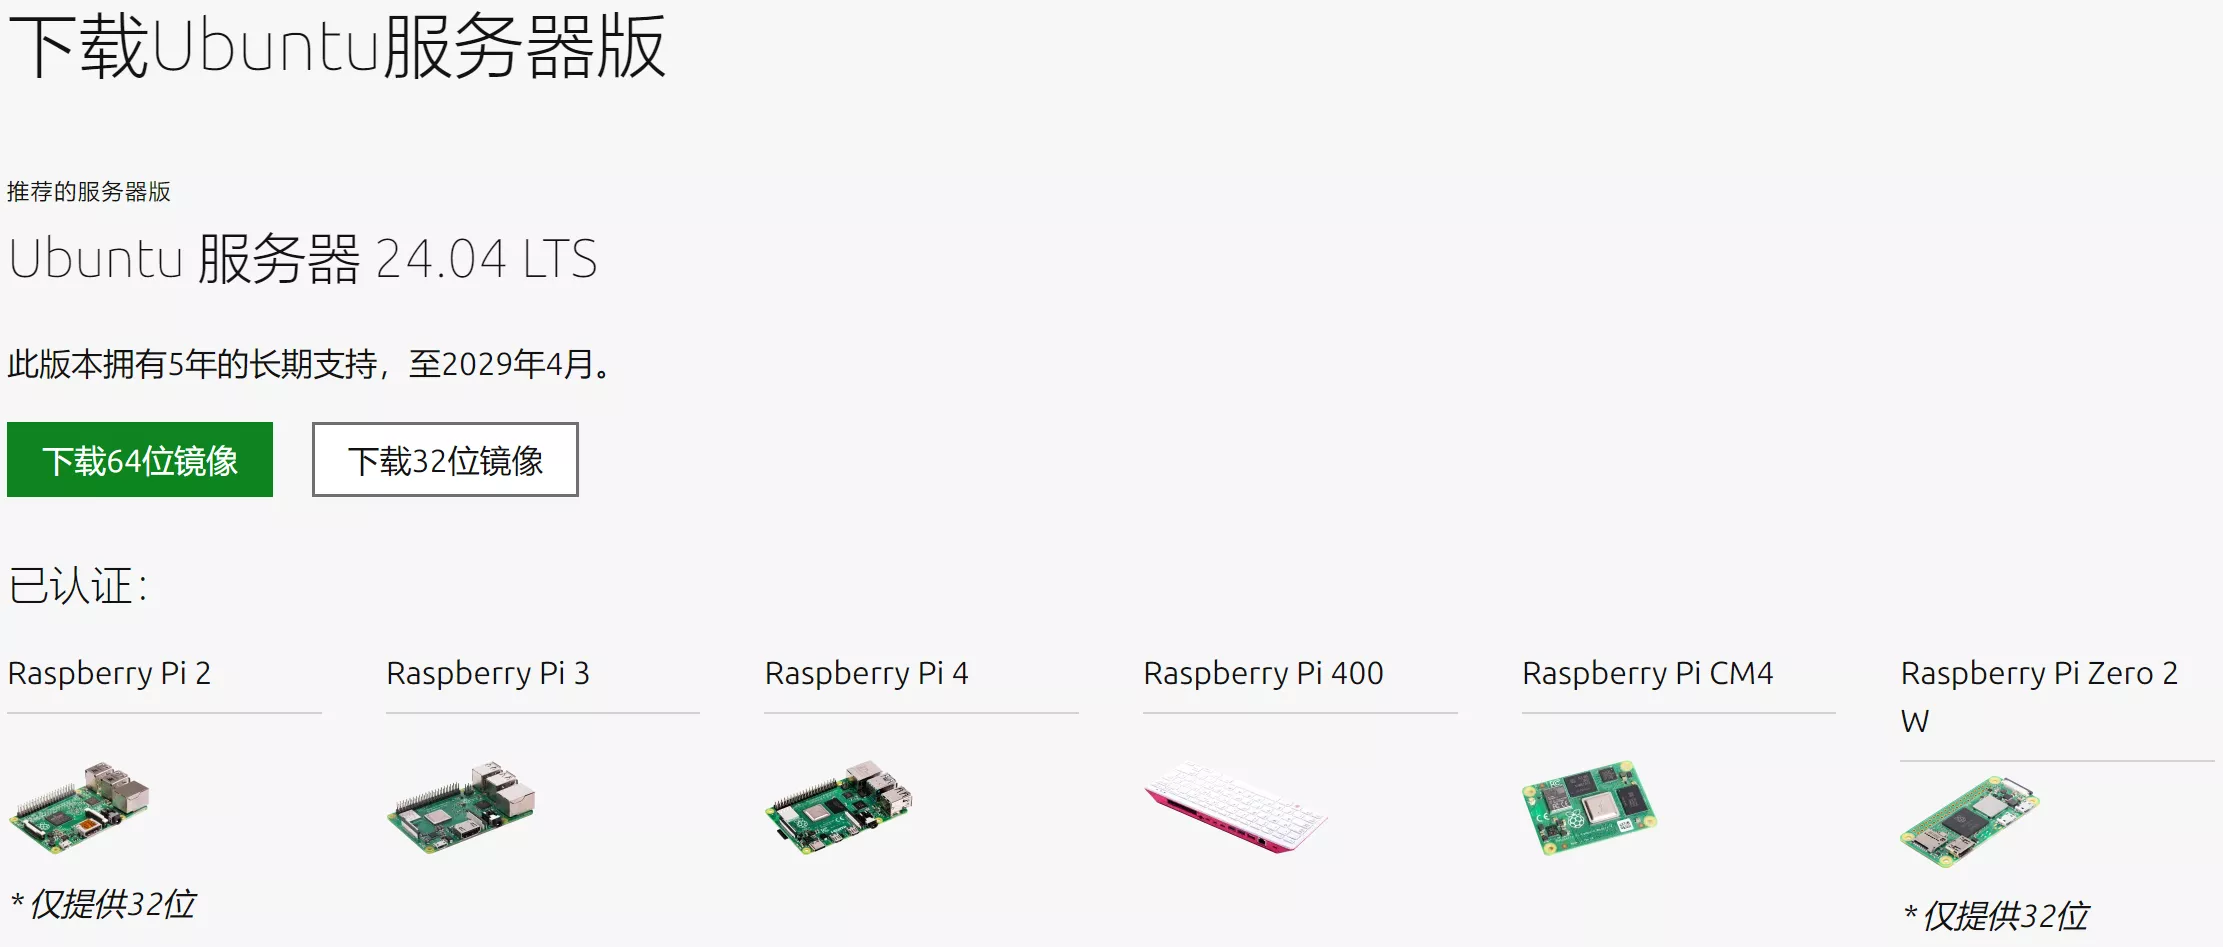
自行到 Ubuntu/Raspberry-pi 下载 OS 系统
(建议根据自身开发板型号选择并提前下载)
二. 烧录软件
2.1 启动 RPI Imager 烧录
烧录方式可以直接在软件中选择 OS 实现下载烧录,另外则是选择自己已提前准备的 ISO 文件
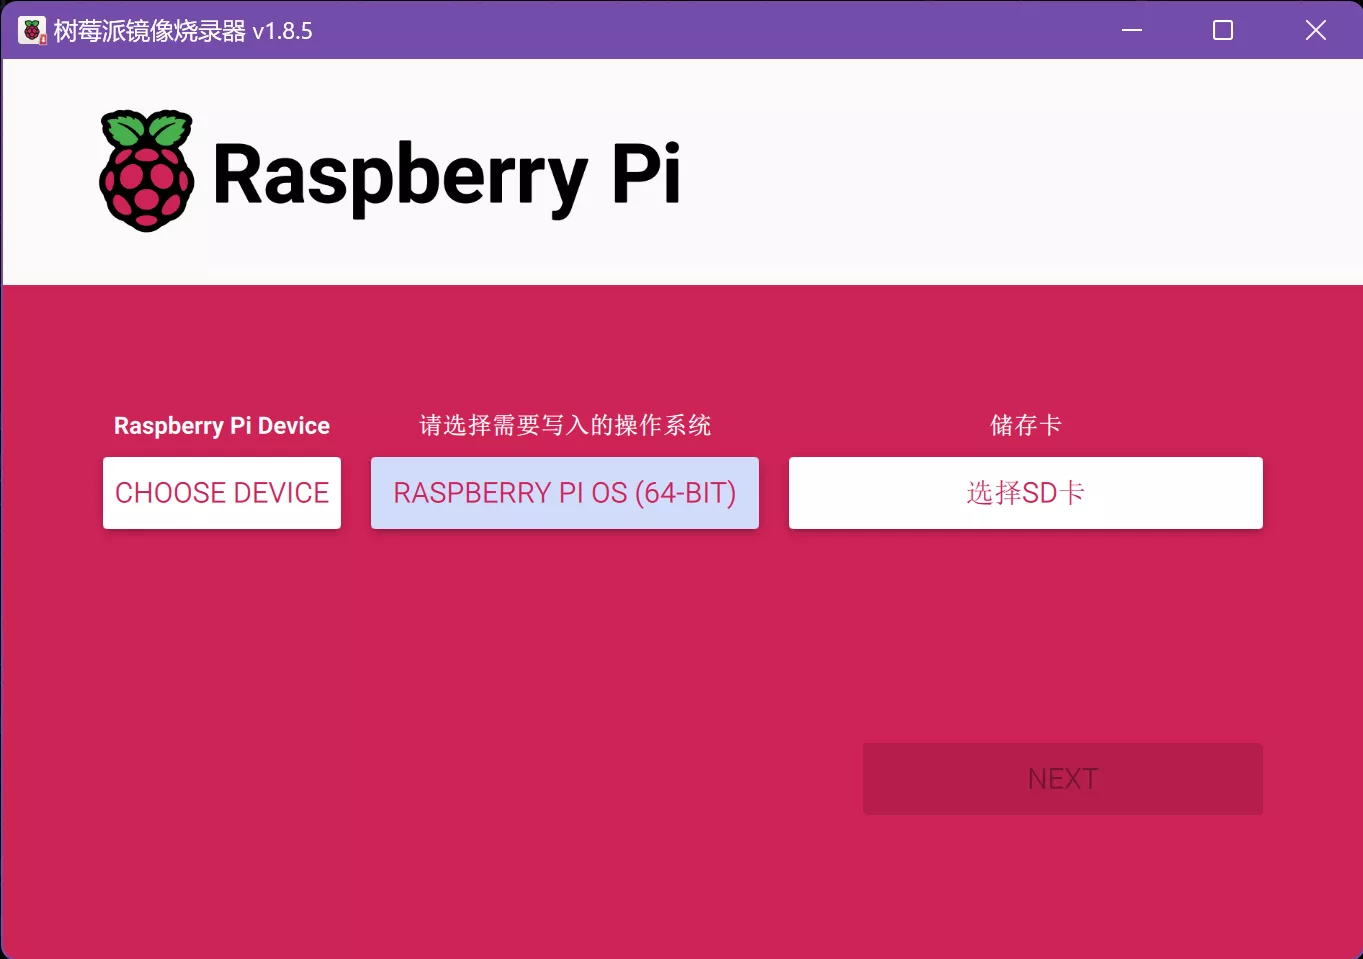
打开 Rashpberry Pi Imager 客户端,选择 “Raspberry Pi Device 开发板”、“操作系统”、“储存卡”
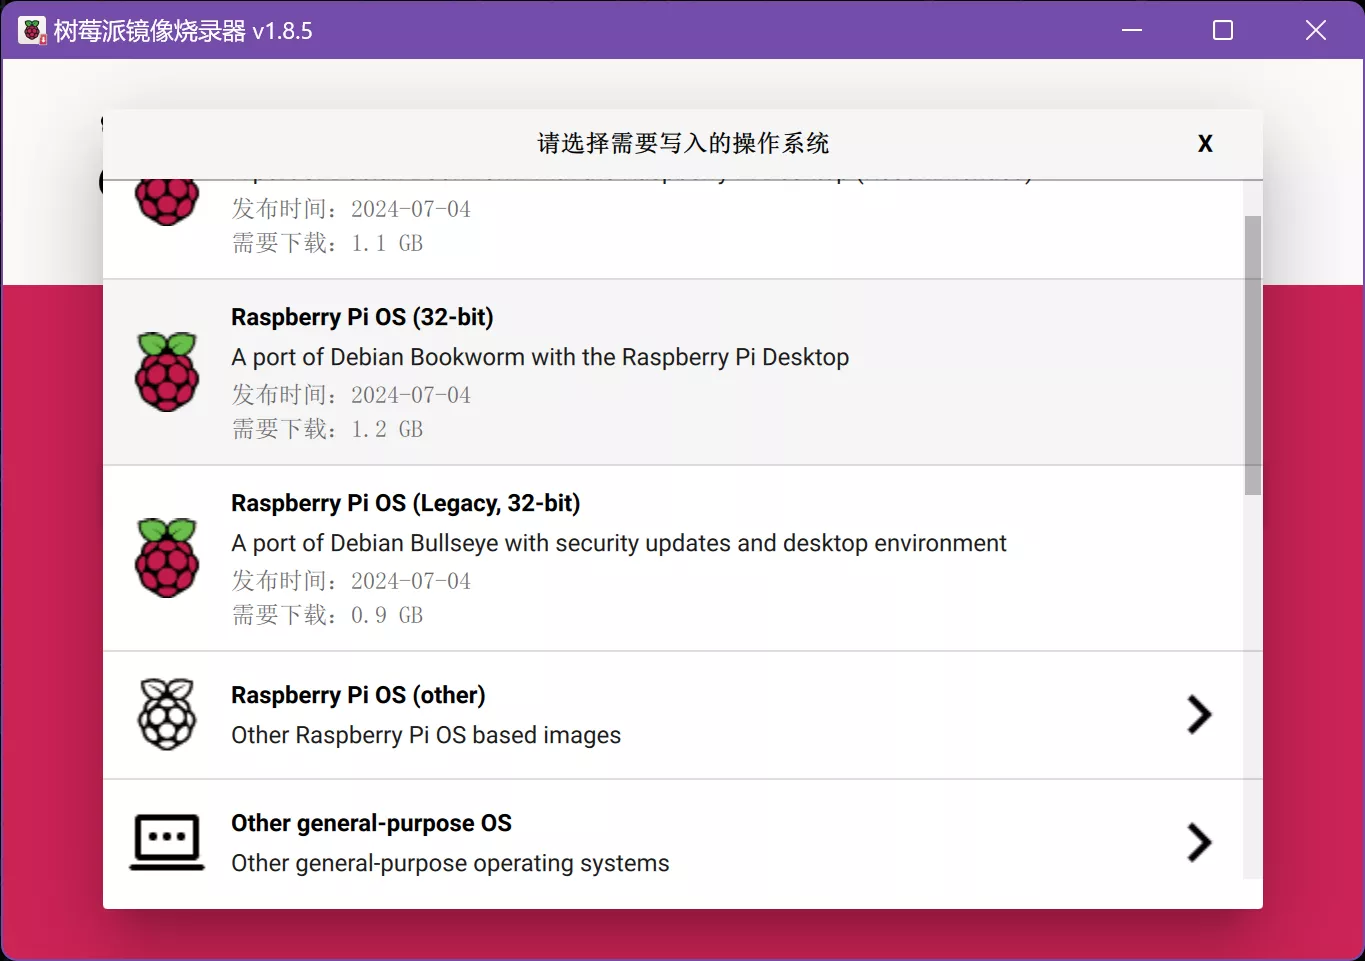
PS:此处可选择 Other general-purpose OS,另外官方也提供了专用的 Raspberry Pi OS,根据需求自行选择
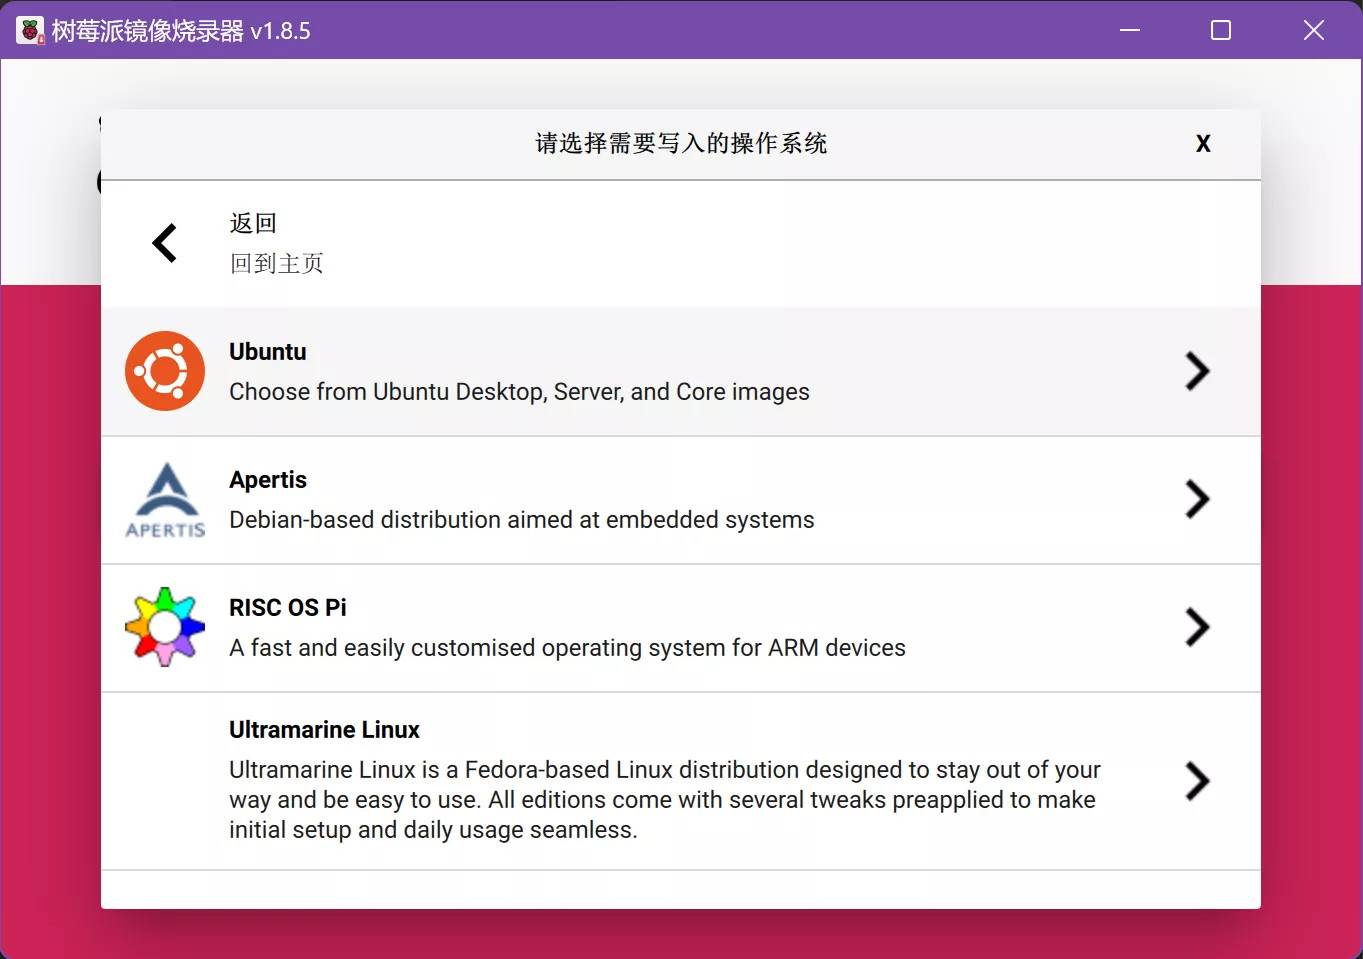
上述操作步骤是通过烧录工具下载镜像,然后进行烧录,需要下载两个多 G,建议使用 1.2 步骤提前下载
如提前下载了 ISO 文件,那在选系统时,直接下滑至 Use custom 选择自己电脑中的镜像文件
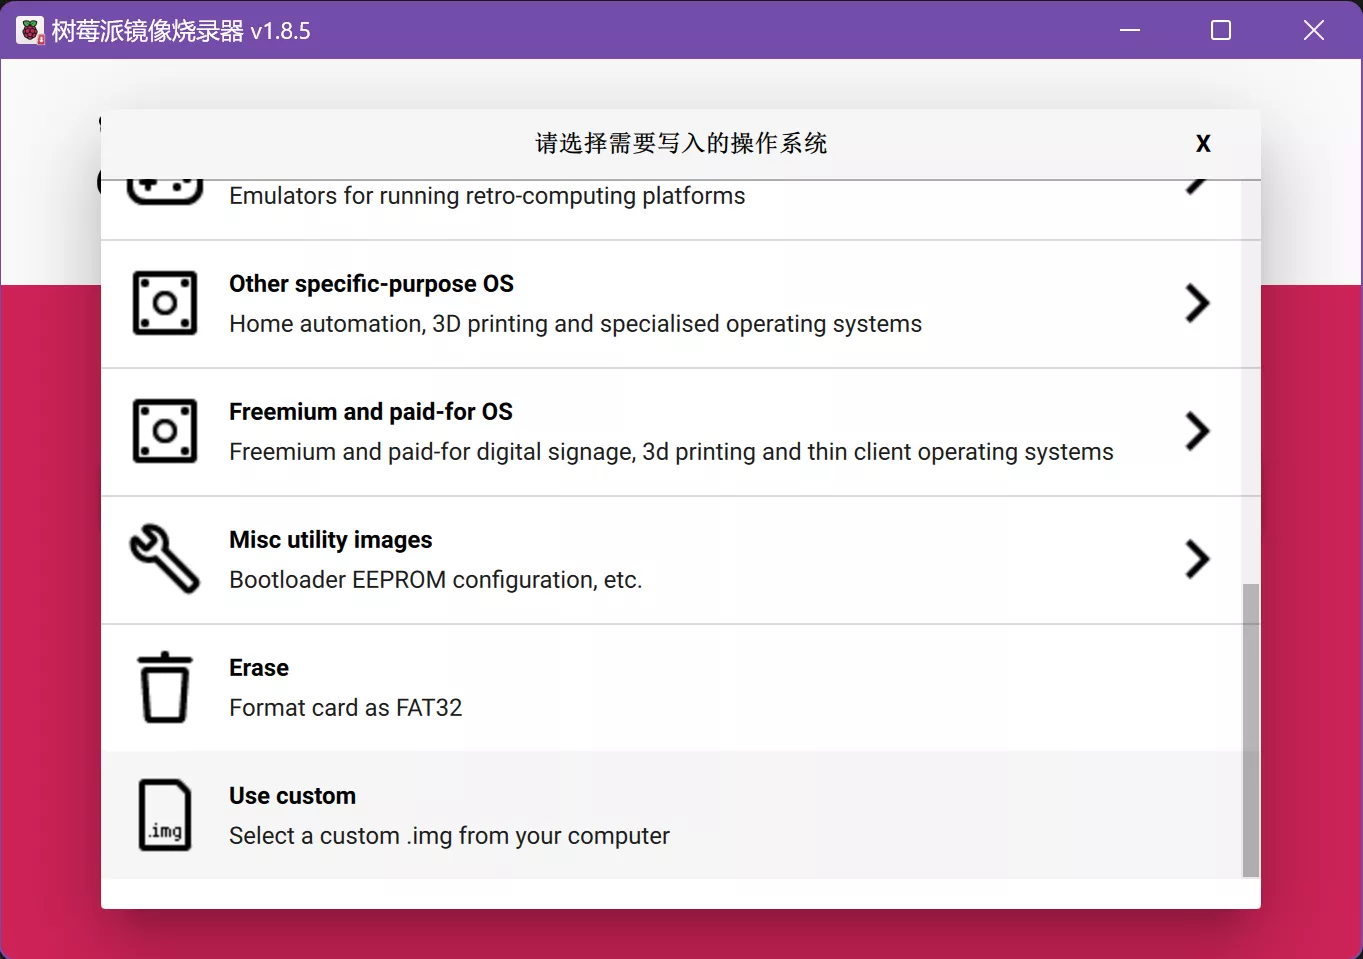
重要提醒
下一步 “Next” 后,会出现配置信息,点击编辑配置即可提前设置好
- 第一页:定义账户和密码,默认均为 ubuntu & Wifi 配置,设置 SSID 名和密码
- 第二页:启动 SSH 服务(非常重启,另注意:如选的镜像为 Desktop 版本的,则无法设置开启 SSH 服务)
- 第三页:默认设置即可
三. 基本配置
3.1 修改软件源
上述配置好并烧录后,即可插入树莓派启动,因作为小型测试服务器使用,仅配置有线及软件源,如有桌面或其它需求自行百度
| # 备份原软件源文件,添加新源
$ sudo cp /etc/apt/sources.list /etc/apt/sources.list.bak
$ vi /etc/apt/sources.list
deb http://mirrors.tuna.tsinghua.edu.cn/raspbian/raspbian buster main contrib non-free rpi
deb-src http://mirrors.tuna.tsinghua.edu.cn/raspbian/raspbian buster main contrib non-free rpi
deb https://mirrors.aliyun.com/ubuntu-ports/ focal main restricted universe multiverse
deb-src https://mirrors.aliyun.com/ubuntu-ports/ focal main restricted universe multiverse
deb https://mirrors.aliyun.com/ubuntu-ports/ focal-security main restricted universe multiverse
deb-src https://mirrors.aliyun.com/ubuntu-ports/ focal-security main restricted universe multiverse
deb https://mirrors.aliyun.com/ubuntu-ports/ focal-updates main restricted universe multiverse
deb-src https://mirrors.aliyun.com/ubuntu-ports/ focal-updates main restricted universe multiverse
# deb https://mirrors.aliyun.com/ubuntu-ports/ focal-proposed main restricted universe multiverse
# deb-src https://mirrors.aliyun.com/ubuntu-ports/ focal-proposed main restricted universe multiverse
deb https://mirrors.aliyun.com/ubuntu-ports/ focal-backports main restricted universe multiverse
deb-src https://mirrors.aliyun.com/ubuntu-ports/ focal-backports main restricted universe multiverse
|
3.2 设置有线
为保证后续软件程序更新稳定下载,建议使用有线连接
| $ cp /etc/netplan/50-cloud-init.yaml
$ vi /etc/netplan/50-cloud-init.yaml
network:
version: 2
wifis:
renderer: networkd
wlan0:
access-points:
ZYKJ:
password: fcdede04497b501abeee59b9b721905070db528eabd5fe5f6e0dca730e306975
dhcp4: true
optional: true
# 添加下述有线静态IP地址
renderer: networkd
ethernets:
eth0:
dhcp4: no
addresses:
- 192.168.0.192/24
gateway4: 192.168.0.254
nameservers:
addresses: [223.5.5.5, 114.114.114.114]
|
| # 根据提示生成配置并执行
$ sudo netplan -h
$ sudo netplan generate
$ sudo netplan apply
|
3.3 更新程序
| $ sudo apt update
$ sudo apt upgrade
|
配置 & 更新完后,即为完成安装并且已经可使用了
四. 安全配置
作为服务器,基于安全考虑,采用 RSA 密钥验证并关闭密码认证(非必要)
PS:为了实现统一管理,都由私人笔电作为 Master 生成密钥,再将公钥发至 RPi
| # 私人笔电操作
$ ssh-keygen -t rsa -b 4096 -C "example@mail.com"
$ ssh-copy-id -i ~/.ssh/id_rsa.pub -p 22 yuen@rpi_ip
$ ssh -p 22 yuen@rpi_ip
|
注意:此时登录还是采用密码验证方式,现还需要注释掉 sshd_config 的密码验证
| $ vim /etc/ssh/sshd_config
# 修改端口、关闭密码验证、开启密钥验证、关闭 root 远登
Port 12123
PermitRootLogin no
PasswordAuthentication no
PubkeyAuthentication yes
AllowUsers yuen
$ systemctl restart sshd
|
注意事项
RPi PasswordAuthentication 需要修改 50-cloud-init.conf
| $ sed -i "s/yes/no/g" /etc/ssh/sshd_config.d/50-cloud-init.conf
$ systemctl restart ssh;systemctl status ssh
|


